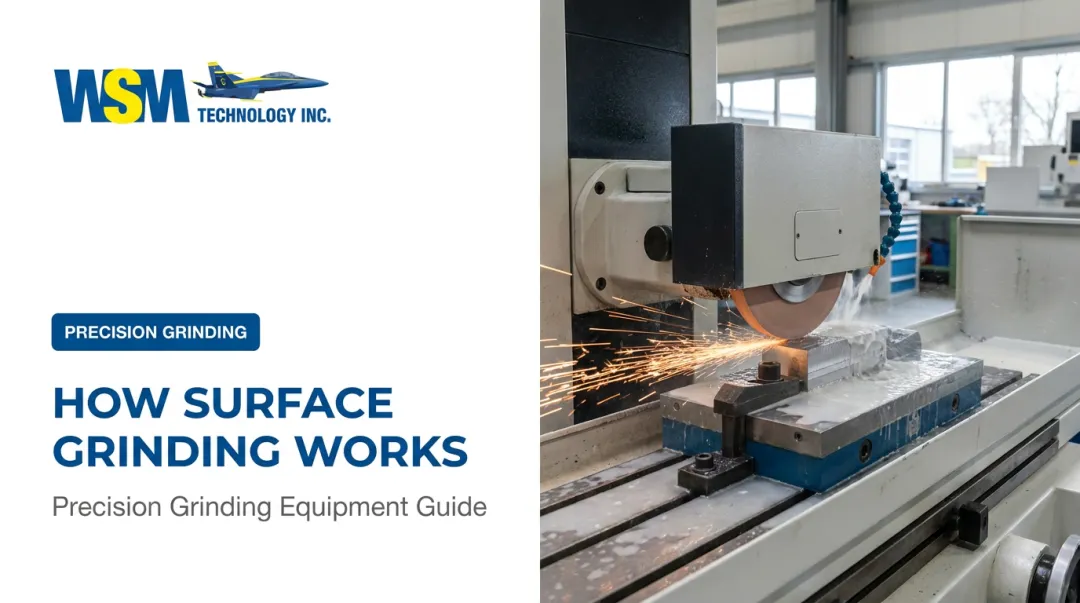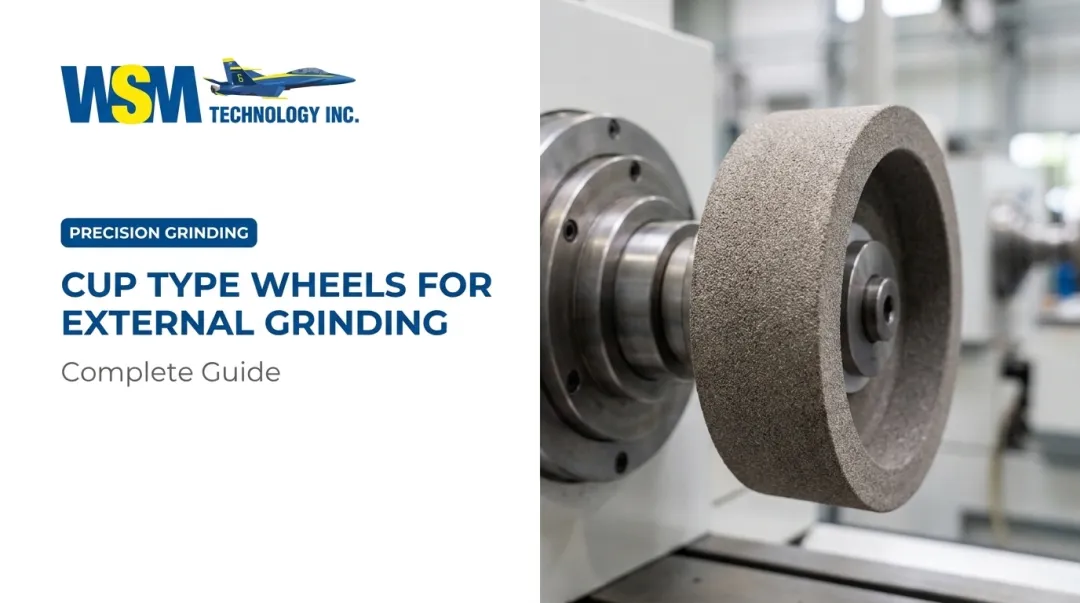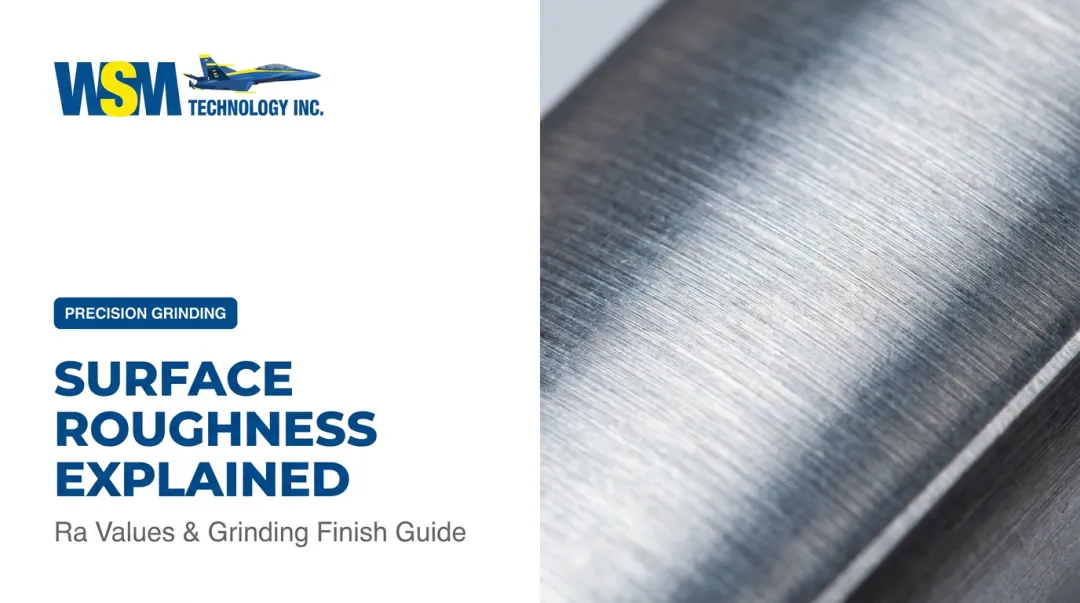

The setup looks simple enough: a wheel, a workpiece, and a table. But the actual Ra you achieve swings wildly based on wheel selection, machine condition, cutting parameters, and operator technique. Norton reports that surface grinding commonly targets a range from 32 microinches Ra down to 4 microinches Ra or better — a wide band that depends entirely on how well you control the variables in between.
This guide walks through the exact steps, preparation, key variables, and troubleshooting fixes you need to consistently hit a superior surface grinding finish.
Key Takeaways
- Wheel selection, dressing, feed/depth control, and coolant delivery all shape finish quality directly.
- Rigid workholding and precise calibration determine finish quality before you even start cutting.
- Burn marks, chatter, and wheel loading trace back to one fixable maintenance issue.
- Finishing passes demand lighter cuts, slower feeds, finer grits, and frequent dressing.
How to Achieve a Good Surface Grinding Finish (Step-by-Step)
Step 1: Select and Prepare the Right Wheel and Workpiece
Wheel selection involves more than grit size alone. Norton's guidance treats abrasive, grit, grade, structure, and bond as one combined specification rather than five separate decisions.
- Aluminum oxide works well on high-tensile materials like stainless and tool steels
- Silicon carbide suits softer metals such as aluminum and cast iron, plus cemented carbide
- CBN is favored for steels and nickel alloys since it doesn't react chemically with ferrite-based metals
- Diamond wheels are reserved for carbide and cermets, not general ferrous work
Finer grits with resin or vitrified bonds produce smoother finishes, but they hold less chip clearance. With the wheel matched to the material, turn to the workpiece itself: inspect it for warping, burrs, or residual stress before mounting. Any of these will show up magnified in your final surface.
Step 2: Secure Workholding and Calibrate the Machine
A magnetic chuck is the standard fixture for ferromagnetic parts. For nonferrous or nonporous materials, vacuum or mechanical fixtures do the job instead, though vacuum performance depends heavily on having enough sealing area against a flat, clean surface.
Before running a single pass, check:
- Table alignment: misalignment shows up as taper across the part
- Spindle runout: even minor runout translates directly into surface irregularities
- Wheel balance: an unbalanced wheel is one of the most common causes of chatter
With the machine calibrated, position coolant delivery directly at the cutting zone. A general flood application rarely reaches where the heat actually builds.
Step 3: Dress the Wheel and Set Conservative Starting Parameters
Skipping wheel dressing is one of the leading causes of poor finish, full stop. Dressing exposes sharp abrasive grains; truing restores geometry and concentricity. Norton is clear that the right frequency depends on the specific application and wheel spec: there's no universal interval that works for every job.
For your first passes:
- Set a light depth of cut, not an aggressive one
- Use a moderate feed rate until you see how the wheel is cutting
- Match coolant type to the heat sensitivity of the material
Rushing this step to save five minutes usually costs you a re-grind later.
Step 4: Execute Progressive Passes and Fine-Tune the Finish
Grind in stages, not one aggressive pass:
- Take rough passes first for bulk stock removal
- Progressively reduce depth of cut and feed rate on each subsequent pass
- Finish with spark-out passes, zero-infeed passes that knock down remaining high spots
- Check the surface with a profilometer or comparator before committing to a final pass

Surface grinding depths of cut for finishing work often run under 0.001 inch. If you're still removing visible stock at that depth, something upstream (wheel condition, dressing, or workholding) needs attention first.
Key Parameters That Affect Surface Grinding Finish Quality
Consistent finish quality isn't about nailing one setting. It's about controlling several interconnected variables at once.
| Parameter | Why It Matters | Impact on Quality |
|---|---|---|
| Wheel Speed (SFPM) | Determines cutting action and heat at the contact zone | Too high burns and discolors the surface; too low reduces cutting efficiency and promotes glazing |
| Feed Rate & Depth of Cut | Controls how aggressively material is removed | Deeper, faster cuts speed removal but cause chatter and rougher Ra |
| Wheel Grit & Dressing | Grit sets scratch depth; dressing restores sharp edges | Dull or improperly dressed wheels cause glazing and inconsistent finish |
| Coolant Type & Delivery | Manages heat, flushes swarf, prevents loading | Misdirected coolant leads to burn marks and micro-cracking |
| Workholding Rigidity | Any part movement transfers straight into the surface | Loose fixturing causes chatter, especially on thin parts |
Coolant delivery deserves extra attention because it's frequently misunderstood. Wheels running at 6,000 sfpm or higher can generate an air barrier around the wheel face that low-pressure coolant simply can't punch through. Jet velocity and nozzle aim matter more than how much fluid you're dumping into the general area.
Workholding rigidity is the other quiet killer. A part that shifts by even a few thousandths under grinding pressure will produce chatter marks that look exactly like a wheel balance problem. No amount of dressing will fix a loose fixture.
What You Need Before Grinding for a Fine Finish
Preparation, not execution alone, determines whether a fine finish target is realistically achievable.
Equipment and Machine Readiness
Confirm the grinder's spindle, table, and wheel guard show minimal runout, and that the machine can deliver the fine feed increments needed for finishing passes. A machine that can't step down feed rate in small enough increments will never hit a tight Ra target, no matter how good your wheel is.
Materials and Wheel Compatibility
Verify the workpiece material, hardness, and heat sensitivity align with your chosen abrasive before starting an unfamiliar job. Research the wheel-to-material pairing rather than guessing based on what worked last time on a different alloy.
Operator Skill and Process Knowledge
Understanding how parameters interact, and knowing proper dressing technique, is what separates consistent results from trial-and-error. This is where a lot of shops lose time they don't need to lose.
Partnering with an experienced equipment specialist for hands-on training or a time study can shorten that learning curve. WSM Technology, based in Rootstown, Ohio, offers local training and time-study services to help shops across Northern Ohio, Western Pennsylvania, and West Virginia optimize machine utilization and finishing parameters. Their demonstration center features precision grinding equipment from manufacturers like Danobat and Hembrug, giving shops a way to see finish results on comparable machines before committing to a process change.

Common Mistakes and Troubleshooting a Poor Surface Grinding Finish
Nearly every surface finish problem traces back to a handful of identifiable root causes.
Skipping wheel dressing before a job leads to glazing, vibration, and inconsistent scratch patterns across the surface.
Using rough-pass feed rates on finishing passes causes chatter marks and a rougher-than-expected Ra on the final surface, a mistake that's easy to make when you're trying to save cycle time.
Beyond these two habits, several other issues call for a quick diagnostic check:
| Problem | Likely Cause | What to Check |
|---|---|---|
| Burn marks or discoloration | Excessive heat from high wheel speed, insufficient coolant, or a dulled wheel | Coolant flow and pressure, wheel condition, cutting speed and depth |
| Chatter marks | Machine vibration, loose workholding, or an imbalanced wheel | Workholding rigidity, wheel balance, spindle bearing condition |
| Wheel loading (clogging) | Soft or gummy material clogging abrasive pores | Wheel type and grade, coolant flow rate, dressing frequency |
If you're chasing a chatter problem and none of the above fixes it, look for regenerative chatter — surface waviness feeding back into force variation, causing progressively larger lobes. That requires changing the dynamic condition of the setup, not just making lighter passes.
Alternatives and When to Choose Surface Grinding vs Other Finishing Methods
Surface grinding isn't always the most efficient path to a fine finish. The right method depends on tolerance, material, and part geometry.
Surface grinding excels at flat, precision surfaces requiring tight tolerances and fine Ra on hardened or hard-to-machine materials. But it's not the only option:
| Alternative | When It's Better | Key Trade-Offs |
|---|---|---|
| Lapping/Honing | Even finer Ra or extremely tight flatness on smaller parts | Slower and more labor-intensive; unsuited to large stock removal |
| EDM Finishing | Hardened, hard-to-grind materials or complex geometries | Slower material removal, but performs well on intricate shapes and very hard alloys |
| CNC Milling (fine finishing passes) | Single setup can achieve acceptable finish without a secondary operation | Typically can't match the Ra and flatness dedicated surface grinding achieves |
For shops weighing whether a dedicated surface grinder or an EDM finishing pass makes more sense on hardened tool steel, that decision usually comes down to part geometry more than cost. Flat, accessible surfaces favor grinding almost every time. Complex cavities or thin ribs often favor EDM instead. WSM Technology's application engineers run test cuts and time studies across both grinding and EDM equipment, helping shops confirm the right process before investing in new machines.

Frequently Asked Questions
How much material should you leave for surface grinding?
Stock allowance depends on part size, the accuracy of prior machining operations, and your required tolerance. There's no universal number: heat-treatment distortion and incoming flatness both affect how much you need to leave.
What is the surface finish achieved by grinding?
Surface grinding typically targets 32 to 4 microinches Ra or better, depending on wheel spec and parameters. Finer finishes require slower feeds, finer grits, and more spark-out passes.
What are the different types of surface grinding?
The main configurations are horizontal-spindle reciprocating-table machines, vertical-spindle rotary-table machines, and disc or double-disc grinders. Horizontal-spindle setups are the most common for general flat work.
How often should a grinding wheel be dressed for a good finish?
Dressing frequency depends on material hardness and wheel wear rather than a fixed schedule. A glazed or loaded wheel surface is a clear sign a dress is overdue.
What causes chatter marks during surface grinding?
The main culprits are loose workholding, wheel imbalance, or general machine vibration. Check fixture rigidity first, then wheel balance, then spindle bearing condition.
What is the difference between surface grinding and cylindrical grinding?
Surface grinding produces flat surfaces using the wheel's periphery or face while the workpiece moves on a table. Cylindrical grinding produces round surfaces by rotating the workpiece between centers.