
The challenge is that taper cutting is unforgiving. As angles climb from a few degrees toward 30–45 degrees, variables that barely matter on straight cuts — wire type, tension, guide distance, overburn compensation — start driving dimensional errors and production stoppages. A setup that works well at 5 degrees can produce undersized parts or repeated wire breaks at 20 degrees.
This guide covers the practical decisions that determine success: choosing between hard and soft wire, understanding when 2-axis programming ends and 4-axis begins, setting up taper compensation correctly, and avoiding the most common failure modes.
Key Takeaways
- Soft wire (≤500 N/mm²) cuts steep taper angles more accurately than hard wire — but requires tighter tension and voltage control
- Use 2-axis for uniform fixed angles; switch to 4-axis when top and bottom profiles differ
- Watch for overburn at tight arc sections — taper compensation (TPCMP) is the standard correction for this accuracy risk
- Calibrate guide distance before every taper cut; angular errors compound across workpiece height
- Mold/die, aerospace, and precision tooling are the highest-value applications for wire EDM taper cutting
Hard Wire vs. Soft Wire: Choosing the Right Electrode for Taper Cutting
Wire selection directly determines taper accuracy and auto wire feed (AWF) reliability. Hard and soft wire behave differently under taper conditions — choosing the wrong one means dimensional errors, poor surface finish, or threading failures that stop production.
Hard Wire: Reliable for Straight Cuts, Limited at High Angles
Hard wire — typically above 900 N/mm² tensile strength — resists deflection and handles aggressive cutting conditions well. For straight cuts and moderate tapers (roughly under 10 degrees), that stiffness is an asset. Push it into high-angle taper work and the same stiffness becomes a liability.
Hard wire has "memory." It resists bending to the programmed path between the upper and lower guides. At steep angles, this causes the wire to lag behind the true taper geometry, producing:
- Reduced dimensional accuracy on the tapered face
- Degraded surface finish
- Increased wire breakage risk at the guide tangent point
Soft Wire: The Preferred Choice Above 10–15 Degrees
Where hard wire struggles, soft wire performs. According to MoldMaking Technology, high taper challenges are generally described in the 10 to 45 degree range, and soft wire — 500 N/mm² or less — is the recommended choice because its flexibility allows it to conform to the CNC-controlled path between guides rather than fighting it.
The tradeoff is threading reliability. Soft wire is sensitive to voltage and tension during the AWF cycle. If anneal voltage is too high, the cut tip melts and curves instead of forming a clean bullet point — and a curved tip cannot enter the guide. That threading failure stops production and requires manual intervention.
Practical Parameters for Soft Wire Success
Getting soft wire to run reliably at high taper angles requires attention to several settings:
- Reduce wire tension on rough cuts — especially if the machine was originally calibrated for hard wire, which runs at higher tension
- Use the lowest effective anneal voltage — enough to form a clean tip without melting the wire end
- Use a large-taper die guide — standard guides do not provide adequate support geometry at steep angles; a guide designed for wide-angle cutting reduces threading failure risk at high angles
- Consider machines with air-blow wire tip cooling — keeping the tip cool during the thermal cut cycle prevents chip buildup and produces a more consistent tip shape

Contact WSM Technology at their Rootstown, Ohio demonstration center if you need to evaluate soft wire performance on a Mitsubishi wire EDM before committing to a setup — their test cut service is built to validate exactly this kind of parameter before you invest in a full setup.
2-Axis vs. 4-Axis Wire EDM Taper Cutting Techniques
Choosing between 2-axis and 4-axis programming comes down to part geometry. Most modern wire EDM machines support both modes, so the real question is what your workpiece actually demands.
2-Axis Taper Cutting
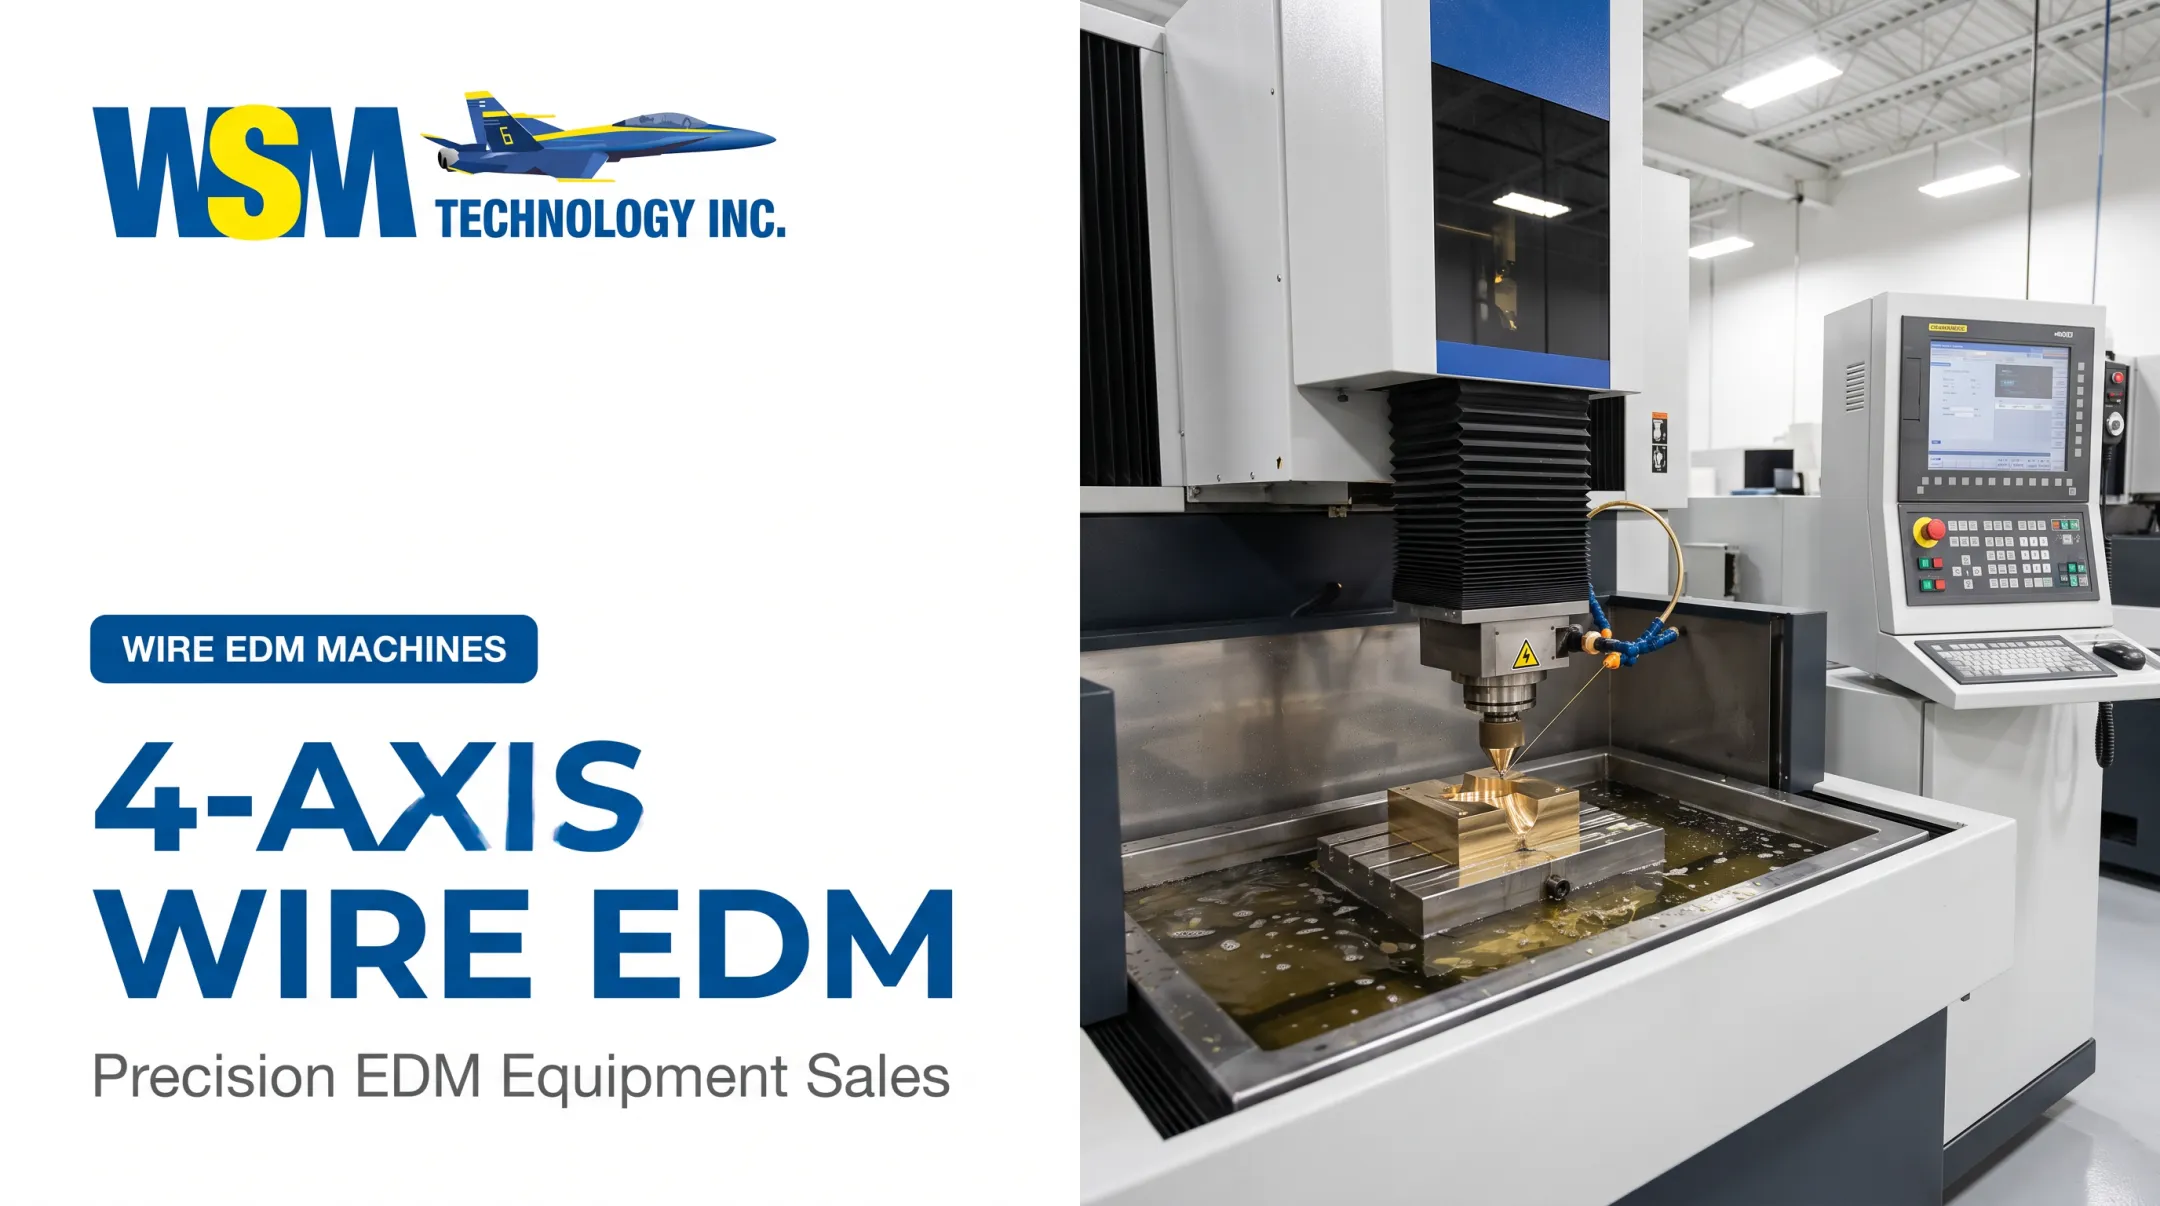
In a 2-axis taper operation, the wire tilts at a fixed, continuous angle along the entire programmed path. The U and V axes offset the upper guide relative to the lower guide to produce the taper, while the X and Y axes drive the XY contour.
This approach works when:
- The taper angle is uniform and does not change along the path
- The top and bottom profiles are geometrically similar (for example, a draft angle around a uniform die cavity)
Two key parameters define the operation beyond the angle itself:
- Land height — a straight vertical section at the top or bottom of the cut, useful for locating components precisely within a mold
- Land-on-top vs. land-on-bottom — determines which face receives the straight vertical wall
4-Axis Taper Cutting
As ESPRIT CAM describes, 4-axis wire EDM uses synchronized upper (UV) and lower (XY) profiles. The machine simultaneously controls wire position at both the top and bottom guide locations, following two separate contours at the same time.
Use 4-axis when:
- The top profile and bottom profile are different shapes
- The taper angle changes along the cut path
- The part geometry cannot be described as a simple projection of one profile
The CAM system must create both profiles and synchronize them with appropriate synchronization points — the machine interprets these to smoothly transition the wire between the two paths. Software like ESPRIT and BobCAD-CAM both support 4-axis wire EDM workflows with dedicated synchronization controls.
Wire Diameter Compensation in Both Approaches
Whether you are running 2-axis or 4-axis, wire diameter compensation (WDcomp) applies the same way: the offset must account for wire radius plus the discharge gap. Set this value in one location only — either in the CAD trajectory or in the code conversion interface. Defining it in both places creates double-compensation, shifting your geometry by the full offset amount.
Setting Up Taper Parameters and Compensation for Accuracy
Accurate taper cutting requires two setup elements that are often underestimated: overburn compensation and guide distance calibration. Skip or approximate either one, and angular errors will appear consistently across every part in the run.
Understanding Overburn
Overburn is specific to taper cuts through curved or narrowing paths. When the wire traverses the inside of a tight arc, its path length at that section is shorter — meaning the wire spends more time there relative to the surface. Spark energy concentrates, more material is removed than intended, and the geometry at that arc becomes oversized.
Modern Machine Shop's coverage of FANUC's Volumetric Taper Compensation describes exactly this mechanism, noting that the wire's traverse speed effectively differs between the inside and outside of arcs during taper cuts — and that four-axis overburn control (TPCMP) was developed specifically to address it.
Using Taper Compensation (TPCMP)
TPCMP applies a calculated numerical offset to both upper and lower guide positions. The goal is to keep cutting conditions uniform along the full wire length by moving the wire slightly away from the surface at sections where overburn would otherwise concentrate.
How to determine the correct TPCMP value:
- Run a test cut using your actual material and intended cutting parameters
- Measure the resulting geometry — compare the actual taper angle and surface profile against the programmed values
- Use the machine's built-in formula or calculation tool to derive the compensation value from the measured error
- Note the value is not universal : it differs by material, workpiece thickness, and taper angle. Recalculate whenever any of these change.

Apply taper compensation on skim passes as well as rough cuts. The discharge gap changes at an angle compared to a straight cut, so skipping compensation on finishing passes leaves visible steps or undulations on the tapered face.
Guide Distance Calibration
Before running any taper cut, accurately measure and enter:
- The distance between the upper and lower wire guides
- The distance from the worktable surface to the lower guide
Without accurate guide distance data, the machine cannot calculate correct taper geometry. Angular errors compound across workpiece height: a small calibration error at 10 mm of height becomes a significant part error at 100 mm.
Most controllers offer a verification function (sometimes called Wimble verification or equivalent) where a test cut result is measured and entered to automatically update these parameters. Run this procedure after any maintenance that involves guide replacement or repositioning.
Validating these parameters before production is where shops often save the most rework time. Mitsubishi wire EDM machines — available through WSM Technology for shops in Northern Ohio, Western Pennsylvania, and West Virginia — include built-in TPCMP four-axis overburn control and auto-threading systems designed for consistent taper setups. WSM's Rootstown demonstration center offers test cuts and time studies so shops can confirm taper parameters on their actual material before committing to a production run.
Common Taper Cutting Challenges and How to Prevent Them
Most taper cutting failures fall into one of three categories, each with a specific root cause and a targeted fix.
| Failure Mode | Root Cause | Prevention |
|---|---|---|
| Geometric inaccuracy | Uncorrected overburn at tight arc sections | Calculate and apply TPCMP; re-measure after material or angle changes |
| Repeated wire breakage | Excessive tension combined with steep bending angle | Reduce tension for rough cuts; check for abrupt angle transitions in the path |
| AWF threading failure | Malformed wire tip from excessive anneal voltage | Reduce anneal voltage; use large-taper die guide; verify tip shape manually |

Surface Finish on Tapered Faces
Surface finish on taper cuts degrades for a specific reason: the effective discharge gap is not the same at an angle as it is on a straight cut. The skim-pass strategy must account for this. Common errors include:
- Applying taper compensation only on the rough cut, then running skim passes in standard mode
- Using the same offset values from a straight-cut skim strategy without adjusting for the taper angle
- Failing to recalibrate offset values after switching taper angles mid-program
The fix in all three cases is the same: apply taper-specific compensation settings to every skim pass, not just the rough cut.
Quick Troubleshooting Reference
- Taper angle reads incorrectly on the part → Check guide distance calibration first; re-run verification procedure
- Wire breaks at the same location in every cycle → That location likely has an abrupt angle transition; reduce feed rate at that section or adjust tension
- AWF repeatedly fails to thread → Inspect wire tip condition; reduce anneal voltage; confirm large-taper die guide is installed
Applications of Wire EDM Taper Cutting Across Industries
Mold and Die Manufacturing
Injection mold cavity inserts require precise draft angles for part ejection. Wire EDM taper cutting produces those angles directly in hardened tool steel — no secondary grinding, no hand-fitting. The accuracy of the taper determines how well mold components locate and align with each other, which directly affects fitment time and polishing work downstream.
High-taper angles (10–45 degrees) appear frequently in lifter pockets, slide rails, and angled core details. MoldMaking Technology frames this taper range as the core challenge in mold shop wire EDM work — and it is where soft wire and compensation setup have the most impact on outcomes.
Aerospace and Precision Tooling
Turbine disc fir-tree slots are among the most demanding wire EDM taper cutting applications in manufacturing. A 2021 peer-reviewed study on finishing WEDM of Inconel 718 turbine disc fir-tree slots confirms both the complexity of these geometries and the precision demands involved. Wire EDM suits these applications well because material hardness does not affect cutting speed, and there are no cutting forces to distort thin or delicate features.
Extrusion dies present a related challenge — compound tapers cut through tool steel, often at angles up to 45 degrees. Wire EDM handles these geometries, sometimes in a single multi-step cutting program.
Prototype and Pre-Production Tooling
Before committing to full hardened production tooling, shops use taper cutting to validate the design in soft or pre-hardened material. Catching a draft angle problem at this stage costs far less than reworking a hardened cavity insert after the fact.
A prototype cavity cut with wire EDM can confirm:
- Draft angles meet ejection requirements
- Part release behavior matches design intent
- Overall geometry is correct before production steel is ordered
Frequently Asked Questions
What taper angle range can wire EDM typically achieve?
Most machines cut from near 0 degrees up to approximately 30–45 degrees, depending on the model, guide geometry, and workpiece height. For example, the FANUC ROBOCUT a-C600iC reaches ±45 degrees with an optional die guide, while the GF CUT E 350/600 with TAPER-EXPERT supports 0–30 degrees. Reaching the upper end of this range requires soft wire and a large-taper die guide.
What is the difference between 2-axis and 4-axis wire EDM taper cutting?
2-axis taper cutting applies a fixed, uniform angle along a single profile path. 4-axis cutting independently controls the upper and lower wire guide positions simultaneously, following two different profiles at once — used when the top and bottom shapes of the workpiece differ or the taper angle varies along the path.
Why does wire EDM produce overburn during steep taper cuts?
Overburn occurs because the wire moves more slowly through tight arcs relative to open sections, concentrating spark energy and removing more material than programmed. Taper compensation features like TPCMP correct for this by adjusting wire position to equalize cutting conditions along the full wire length.
What wire type is best for high taper angles?
Soft wire at 500 N/mm² or less is preferred for taper angles above approximately 10–15 degrees. Its flexibility allows it to follow the programmed path between guides accurately. Hard wire's stiffness causes it to resist bending at steep angles, reducing dimensional accuracy and increasing breakage risk.
How do you calibrate a wire EDM machine for taper cutting?
Calibration involves measuring and entering two key values: the distance between upper and lower wire guides, and the distance from the table surface to the lower guide. Most controllers include a verification function that uses a test cut result to automatically update these parameters — repeat after any guide maintenance.
What industries use wire EDM taper cutting most commonly?
Mold and die manufacturing, aerospace, automotive tooling, and medical device manufacturing are the most common. Any application requiring precise draft angles, die clearance cuts, or compound taper geometries in hardened materials benefits from the process, especially when conventional machining would add secondary operations.